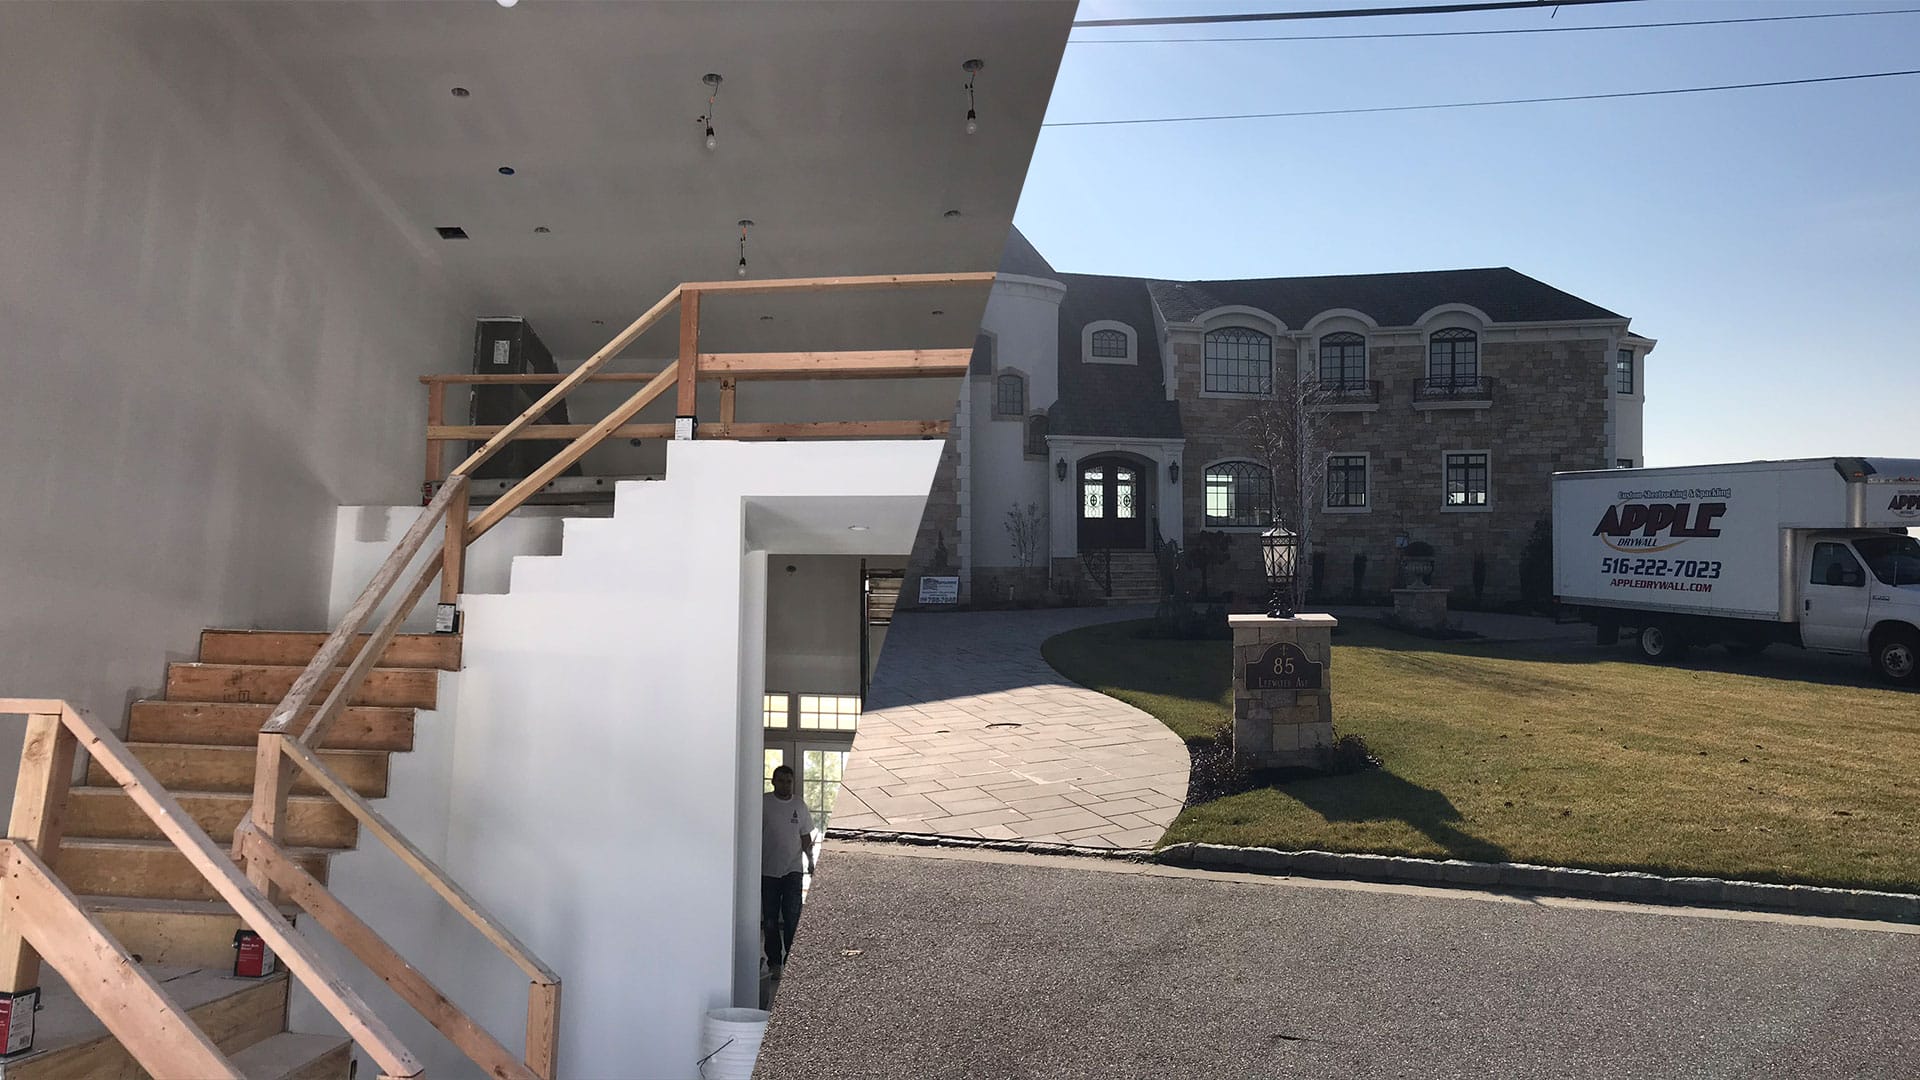
What to Expect During a Professional Drywall Installation Project in Garden City, NY
If you are planning drywall installation Garden City, NY homeowners often ask what the process looks like, how long it takes, and what they need to do before the crew arrives. This guide walks you through each step so you feel confident and prepared from day one.
Every property is different, but the goals are the same: clean, straight lines, smooth finishes, and a protected home. Here is how a trained crew approaches drywall installation so you can plan with less stress and fewer surprises.
Your Drywall Installation Garden City, NY Timeline
Timelines vary by room count, ceiling height, access, and whether the space is furnished. Many projects in Garden City’s colonials and split-level homes follow a simple rhythm: verify framing, hang panels, tape and mud, sand to a uniform surface, then prime. Commercial spaces along Franklin Avenue or near Roosevelt Field may include added coordination with other trades and evening work hours.
- Day 1: Walkthrough, protection of floors and pathways, staging of materials.
- Day 2–3: Hanging panels on walls and ceilings, fastening, and initial cleanup.
- Day 3–5: Taping, mudding, and multiple coats with proper drying periods.
- Day 5–6: Sanding, detail work on corners and returns, and surface checks.
- Day 6–7: Priming once surfaces pass moisture and adhesion checks.
Weather and humidity affect drying. Summer air in Nassau County can slow cure times even with ventilation. Winter heat can help, but rooms still need airflow to move moisture out of the compound.
Local insight: Long Island humidity can extend joint compound drying by a day. Your crew may use dehumidifiers or schedule coat times to keep quality high and dust low. Plan paint start dates with a little buffer for the smoothest results.
Pre-Job Walkthrough And Home Protection
The team starts with a detailed walkthrough. They confirm room counts, ceiling transitions, soffits, and tricky areas like stairwells common in Stewart Manor and Cathedral Gardens. Any framing or insulation that needs attention is flagged before panels arrive, which helps avoid rework later.
Next comes protection. Entryways, stairs, and hallways get runners. Doorways may receive plastic barriers to control dust migration. Vents can be covered during sanding. Fixtures and switches are removed or masked. If you plan to keep furniture in the room, it is covered and pulled to the center for safe access.
Keep pets and kids away from the work zone to prevent trips, bumps, or accidental contact with wet compound. It keeps everyone safe and helps the finish cure without marks.
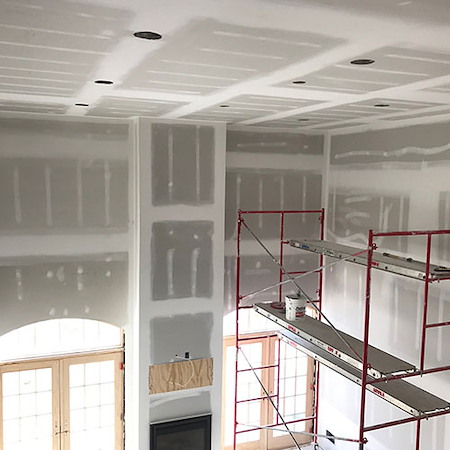
Hanging, Taping, And Finishing: What Happens Each Day
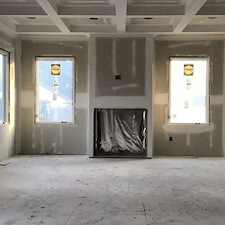
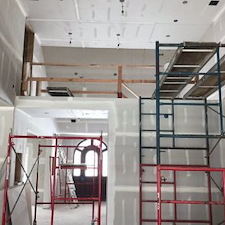
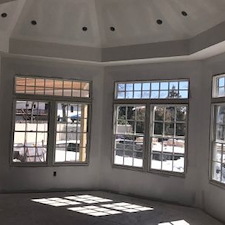
Panels are measured, scored, and fitted to reduce seams. Ceilings usually go first for a tighter wall-to-ceiling joint. Fasteners are set to the right depth for a flat, dimple-free finish. Windows, built-ins, and archways get extra attention so reveals look consistent once painted.
After hanging comes finishing. Joints are taped, then covered with multiple compound coats. Corners may get metal or composite bead for crisp lines and impact resistance. Between coats, the crew checks for ridges and voids. Sanding is done with vacuums or dust extraction where possible to lower airborne dust.
Expect steady progress each day, with natural pauses for drying. The compound must set fully before sanding or priming. Rushing leads to shrinkage lines and visible seams later, which is why a careful pace is worth it.
Dust, Noise, And How Your Home Stays Clean
Drywall work is hands-on and can be noisy during cutting and sanding. Good crews stage materials outside when possible and load in batches to limit clutter. They also run air scrubbers or use sanding attachments with collection to reduce dust spread.
At the end of each day, pathways are swept, and tools are stacked. Final cleanup includes vacuuming surfaces and removing masking. You should still plan a light wipe-down before painting or moving furniture back. If anyone in your home has allergies, share that early so the crew can plan extra filtration or scheduling around sensitive times.
Quality Standards For Smooth, Paint-Ready Walls
Professional results are easy to feel and see. Walls sit flat, corners track straight, and light rakes cleanly across surfaces. Common checks include:
- Shine test with a work light to reveal dips or ridges before priming.
- Consistent corner bead alignment at doors and window returns.
- Joint profiles feathered wide enough that seams disappear under paint.
- Fastener heads filled flush without raised bumps or pitting.
Only after these checks pass does priming begin. The primer reveals remaining imperfections, which get a quick spot skim and sand. Do not schedule painting before the final moisture check. That one step protects your finish from flashing or peeling.
Residential And Commercial Considerations In Garden City
Homes near Nassau Boulevard or on quiet streets off Old Country Road often have tight driveways or limited parking. Your crew will coordinate staging to respect neighbors and keep entrances clear. Pre-war homes may have uneven framing. Installers shim or adjust panels to create a true plane before finishing.
Commercial spaces in mixed-use buildings can require early starts or off-hours work to reduce disruption. Elevators, loading zones, and security rules may shape the daily plan. Share building requirements early so the schedule fits your operations.
Seasonal Timing And Indoor Climate
Garden City summers are humid, and winters are dry and cold. Both impact drying times. A reliable crew monitors indoor humidity and temperature and may use fans or dehumidifiers to keep conditions in range. That steady climate helps joints cure evenly and supports a uniform sanded finish.
If you are coordinating with flooring or trim, let your project manager know. Baseboards, crown, and paint perform best when the drywall is fully cured and primed. Ventilation matters during curing, especially after sanding when fine dust can linger without airflow.
How To Prepare Your Space
A little prep makes the project smoother and shorter. Here is what most homeowners do a day or two before start:
- Clear shelves, artwork, curtains, and fragile items from the work area.
- Move small furniture or electronics to another room if possible.
- Set aside a spot for the crew to plug in tools and store materials.
- Confirm access hours and where trucks can park without blocking driveways.
- Share any alarm codes or pet plans so arrivals stay on schedule.
You do not need to remove heavy furniture if it can be covered and shifted safely. Talk with your project lead if you have a piano, aquarium, or built-in pieces. Plan your furniture staging before the crew arrives so the team can focus on production the moment they step inside.
Communication, Checkpoints, And Change Orders
Expect a quick touch-base each morning with the site lead. They will share the day’s goals and any room sequence changes. If you notice a concern, point it out during these checkpoints. It is easier to address while coats are still in progress.
Changes happen. Maybe you decide to add a closet or adjust lighting. Your project manager will note the change, explain any added time, and get your approval before moving forward. This transparent process helps you understand trade-offs without pressure.
When The Walls Are Ready For Paint
After final sanding and cleanup, the room is vacuumed and primed. Primer makes subtle flaws visible so the crew can do one last touch-up. Painters then follow with finish coats according to the paint spec you choose. In homes around Mineola and West Hempstead, many owners schedule painting the next day if humidity and temperature are in range.
If your schedule is tight, ask about overnight ventilation or staggered room sequencing so one area moves to paint while another area cures. Your comfort matters. You should not feel rushed to move back in furniture until the primer and paint are truly dry to the touch.
What Sets A Professional Crew Apart
Beyond clean lines and smooth joints, professionalism shows in protection, planning, and communication. Look for labeled tools, tidy cords, and a clear material pile. Daily progress updates and photos help you track the job even if you are at work or traveling.
You will also notice a difference in finish quality around windows and door casings. Good crews feather joints farther and keep bead placements tight. Corners look crisp, and light does not catch on waves when the sun hits in the afternoon.
Local Factors That Can Affect Your Schedule
In Garden City and nearby Hempstead, basements can run damp in late summer. Crews may place dehumidifiers or stagger coats to maintain quality. Street parking rules and school drop-off times can affect loading windows. Sharing these details up front keeps the day moving and reduces delays.
If you are coordinating with electricians or plumbers, align your calendars early. Complex projects run smoother when rough-ins and inspections are complete before the drywall team arrives.
Staying Connected During The Project
Reach your project manager by phone, text, or email for quick questions. For larger updates, a daily walkthrough is best. If you need scheduling help, you can always contact Apple Drywall at 516-222-7023 for support or to adjust access times.
For background on our approach in the area, you can explore drywall installation Garden City, NY resources and see how we tailor projects to neighborhood home styles and seasonal conditions.
Next Steps And How To Get Started
You now know what to expect, how the timeline flows, and how your home stays protected from the first panel to the final prime. If you are ready to line up dates or want a room-by-room plan, start with a quick call. A short conversation helps us confirm your goals and set a schedule that fits your calendar.
When you are set to move forward, book your spot for professional drywall installation. You will get a clear plan, tidy work areas, and walls that finish smooth and paint-ready. Call Apple Drywall at 516-222-7023 to begin today.
Get A Free Quote
Our Services
-
Drywall Installation
Learn More About Drywall Installation -

Drywall Repair
Learn More About Drywall Repair -
New Construction Drywall
Learn More About New Construction Drywall -
Renovation Drywall Services
Learn More About Renovation Drywall Services

Our Service Areas
As a reliable drywall contractor based in Long Island, Apple Drywall proudly serves homeowners, builders, and businesses across Suffolk County and surrounding areas. Whether you're located in a bustling neighborhood or a quiet residential community, our team is ready to deliver professional drywall services wherever you need us. From small patch jobs to full drywall installation in new constructions, we bring expert craftsmanship and dependable service to every project—no matter the location.
We proudly provide services to the following areas in New York: